When exporting STL files from TurboCAD (and most other 3D modeling programs), there will inevitably be errors in the tessellated surface that need to be fixed prior to uploading to a 3D-printing service such as Shapeways. I have found netfabb Studio Basic to be an indispensable tool for correcting errors in STL files (not to mention that the program is FREE (UPDATE: Visit this link for changes to the way the free program is accessed); advanced editing tools are available in paid versions). The following is typical of how I have been using the program to prepare STL files for printing:
- Save As .STL from TurboCAD (model was saved in standard inches).
- Open your STL file within netfabb.
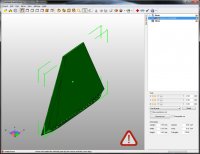
- Pull-Down Menu: Part/Convert Units/Inches to mm (netfabb assumes your STL units are millimeters by default. If the part was modeled in inches, it will need to be scaled up accordingly).
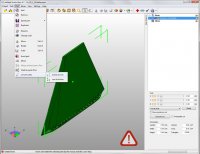
- Repair Part (Red Cross Button).
- Automatic Repair.
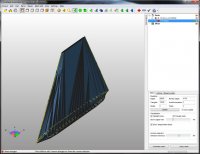
- Pull-Down Menu: Repair/Remove degenerate faces. (NOTE: You may need to experiment with the Tolerance settings here. Lately, I have been using 0.002 with satisfactory results, though other models have required higher values, up to 0.02. Keep in mind that smaller values yield a smoother mesh.)
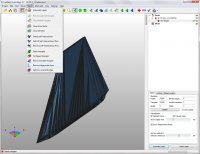
- Apply Repair (pop-up: Remove old part- YES).
- Pull-Down Menu: Part/Export Part — as STL (binary).
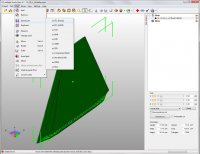
- Check the exported part by going to Pull-Down Menu: Project/New (Discard changes–YES), then open the updated file.
Additional Notes
For step 9, only one project is open at one time, so if you ‘Open’ with a project already active, you’ll just be adding a new object on top of an existing one.
I’ve noticed that if I try to export without performing step 6, I’ll typically get a warning and an opportunity to “fix” the part, which usually does okay, but sometimes the visual result can be unpredictable (with lots of added black lines, for example). So I’ve been doing the Step 6 even if I don’t see any noticeable red lines indicating degenerate faces; this seems to avoid the warning message during export (I suspect degenerate faces are present but are too small to display in the view).
Additionally, netfabb also has a cloud-upload automated repair you could try at their site, which is also free.
Faceter Settings / Resolution
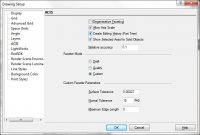
Something else to consider (prior to exporting the STL file from TurboCAD or other CAD program) is the resolution of the surface of your 3D model. Be sure to adjust whatever faceter settings (Options/ACIS/Faceter Mode in TurboCAD) to get decent resolution. Recently, I have been using Custom Faceter Parameters with Surface tolerance set to 0.00007, 0.00015 or .0002 depending on the shape of the part and amount of fine detail (NOTE: These values represent inches; metric drawings will require different settings).
I hope these steps take some of the frustration out of getting your models ready for 3D Printing.
